lauantai 18. tammikuuta 2014

Tactica: Blood Angels (part 2: "Troops & Transports")

So after a while I continued with my project of making BA at least a decent army. And here might be the most difficult part to write since our troops are numerous (unless I'm mistaking, Blood Angels have the biggest amount of "natural troops" so troops that don't need any HQ to be troops). You know. Total of five different troop choices and not one of them great. We have solid choices and then some unstable ones, but none game-breaker. But let's see what we got:

Troops

Tactical Marines:
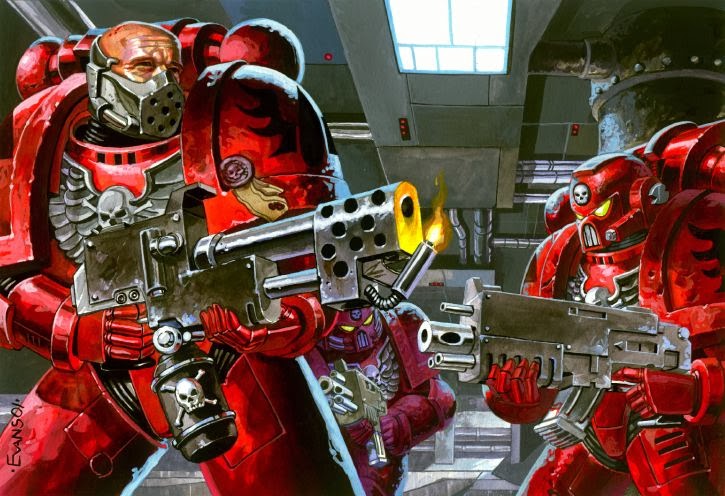
I'll be brief here. They can hold an objective and advance in a Rhino, but they cost a lot when compared to their actual effect in game. If you want an all-shooty list for BA, go nuts and take these as they will suit your theme. In an assault list they will be easily left behind and Rhino is a lot of points for a metal bawks with zero shooting abilities. If they could get a special weapons for five guys like regular Tacticals, I'd be happy. But now they're no. Preferred load-outs:

  • 10 Tacticals in a Rhino. Flamer + ML + combi-gun to Sgt.
  • 5 Tacticals, meltagun + combi-melta in Drop Pod with some nasty special character. They'll blow up a tank (hopefully) and bodyguard your HQ or Priest or anyone. Corbulo might do fine bodyguarding them as a scoring unit.

Scouts:
Once again there are guys who could be much more reliable and useful if we had the toys that regular Marines have (hinthint: a Skimmer that can carry these guys). They are here to fill the Tactical Marine's job for BA. They are cheap. They keep the objective. That's it. Note that the Sgt. can still take combi-guns and Power Fist so a larger squad might have uses. But still, if you want CC-abilities, the Scouts are somewhat poor answer and if you want bolterfire there's always a bunch of Tacticals for you. I guess Snipers would be the way to go. But since they are medicore with their relatively high cost and ineffectiveness of BS3 snipers, don't count on it. Preferred load-outs:

  • 5 Scouts with Snipers and camo cloaks. Cheap objective-keepers. The ML/HB is not worth it in my opinion.
  • 7-8 Scouts. CCW's and Sergeant with combi-gun. Why? You can take the Locator Beacon for reserves. It may be little help for our Assault Marines, but remember that Terminators still benefit here. A random unit that has little use in competitive game but will make a fun unit that supports your other army and after it runs to the nearest objective.

Death Company:
Yes. None can argue with they killing power. But many argue with their usefulness. Let's list the Pro's and Cons:
- expensive
- too powerful charge will wipe the enemy in first turn and leave DC as a target.
- jump pack option costs ridiculously much
- they rely on charge a lot
- not scoring
+ expensive? yes, but for 20 points you have a marine with WS5, Relentless, FnP, Furious Charge, Fearless and Rage.
+ choose your targets and they'll wipe it out
+ unlimited PW's

So lots of cons, but they are still valid choice if you wish to get rid of some enemy unit. Of course the Chaplain/Reclusiarch is a good addition to them, but is not needed as even five guys can deal 25 WS5 S5 hits on charge with I4 and they have 3+ armor and Feel no Pain. What they truly need is a transport. Land Raider is reliable, but expensive. Drop Pod is quickest but will leave the unit exposed for a turn. Rhino/Razorback choice isn't impossible, but needs some positioning and some more luck. Preferred load-outs:

  • 6 Death Company in Razorback with bolters and Thunder Hammer.
  • 9 Death Company in Drop Pod, bolters and a Power Fist or two. Add in either Reclusiarch or Corbulo.
I really think that unless you have them in LR, bolters is a way to go, simply because they still have Relentless so rapid fire bolters + charge. And PW's and such work in DC squad because they can't be challenged out.

Death Company Dreadnought:
This is limited to one for every five DC in your army. But still, a Dreadnought as a troops choice. 
Awesome. This allows unque lists with total of 11 Dreanoughts (three Furiosos as Elites, three regular as Heavy Support , 25 DC, leaving 5 troops slots and all can be filled with DC Dreads). 23 on dual FOC. I won't even count how many you can take if you have double FOC and Astorath... So that's awesome. You know what else is? His CC-abilities. Still has WS5 and 5 attacks on charge (3 + 1 for two DCCW's + 2 for charge/Rage). Speaking of which, always take two Blood Talons. Just too good to pass. After hitting you will kill anything unless it has 2+ armor and even then something. Once again delivery is important so Drop Pod is your way to go.

Assault Marines:
The heart and sould of any Blood Angels army. They are relatively cheap, handle hordes in CC and can get a special weapon for every five guys. The Sergeant should take a PW (or Fist) for them to actually do something in fight. But they are still troops, they aren't meant for killing the enemy army, that's a job for elites, fast attack and heavy support.  They are mobile and can therefore take objectives for you while killing some squashy enemy troops. Always remember Decent of Angels. With only d6 scatter they can reliably deep strike behind terrain in cover and jump over it the next turn. Another thing to remember is their 35-point discount on transports. Preferred load-outs:

  • 10 Assault Marines, 2x Meltagun, Power Axe. They need Priest and cover to survive.
  • 5 Assault Marines, special weapon of your choice, 20-point Razorback. Really cheap unit that can take an objective and provide supporting fire with Plasma gun & Razorback combo and they act as an counter-assault unit if enemy gets too close. My personal favourite.


Troops overall:
This might be my favourite squad in my collections


Well you know how troops are. I guess I wouldn't field any of these if they weren't mandatory. But they play an important role in any army. Always remember that this game is about objectives so that's what your troops should focus on, not killing the enemy. The best scenario is of course if you manage to do both of these. My top three best troops for Blood Angels:
1) Assault Marines. Why? They are reliable and have mobility, which is the key behind every succesful army. Small fast squads that do well in close combat, this is what BA is about.
2) Scouts. Why? A little squishy maybe, but basically every load-out works for these guys. Wanna keep objective? They're like Tacticals that can take HB. Squishy Guardsmen ahead? Charge! MC's? Let me fetch my sniper.
3) Death Company. Why? They may not be scoring, but they will demolish anything on charge when equipped right.


Dedicated Transports

Rhino:
Pass. It's expensive and only works for full Tactical Squads. If you have them, I'd still concider leaving it at home. Mainly because we also have...

...Razorback:
Only five points more expensive than Rhino and packs some fire-power. Regular Heavy Bolter is reliable anti-infantry, tl-Lascannon helps your anti-tank, Assault Cannon is good, but expensive and my favourite is tl-Plasma Gun and Lascannon. A combination that only works with BA since our tanks are fast. Move 12" and fire both guns.

Drop Pod:
It's dirt cheap (comes free for ASM), fastest way of delievery and won't mishap. Allows Dreadnoughts to get quickly to their targets and let's you fire in the rear armor of enemy tanks. Melta will also like since it has so short range. One benefit of pods is also that you can have reliable first turn deep strike that will easily give you first blood when played right (Furioso, Sternguard).

Land Raiders:
Yes, they are Transports for BA. They are awesome. Good for Assault Marines and Death Company, but meh for Tacticals/Sternguard because the ability to assault is wasted. It is expensive so in games less than 1500 points I'm really on the edge of using it. One of the best BA lists include squads of five Assault Marines in 4-5 Land Raiders, but they are expensive money-wise so it's not meant for everyone. But remember that they also give you serious fire support, so which one is the best choice?
Redeemer specialises in close-quaters and is ideal if you're against 3+/4+ armor saves. Transport capacity of 12 and it being 10 points cheaper makes it a medicore all around choice.
Crusader is better against hordes but also needs to get close. It also has the biggest transport capacity so if you have big squads it will be a good choice
Regular one has best anti-tank abilities so it can fill gaps in your army, but the HB doesn't mix with that. It also has transtport capacity of only ten models which is not cool. A solid choice if you have small squad.

Transports overall:
Pretty much every one of them works and when combined with Assault Squads they become relatively cheap as well (okay, 215 points may not be cheap, I get it). But you know what? There's one thing I must say. You see, each army has one unwritten rule. The Rule you shall not break. For Blood Angels it's simple: never, under any circumstances and I mean never. May you deep strike a land raider. Just don't or I'll hunt you down. Anyway, top three:
1) Razorback. Why? It's fast vehicle, it has nice gun (and good uprgades). What else is there to say?
2) Land Raider Redeemer. Why? Do I really need to explain why a AV14 vehicle that has two S6AP3 flamers, power of the machine spirit, transport capacity of twelve and assault ramp is good? Well, there you had it. It gets your CC-freaks efficently to the enemy and kills infantry reliably while doing so.
3) Drop Pod. Why? It gets whatever you want where-ever you want in turn one. I like to add in locator beacon to make it the center of my following deep strikers.


Seriously, don't do it. Ever.
And there you go. Some good units, some not so good but all valid choices. These two should work together as the backbone of your army. But that's all you're gonna get from me today. I'll return sooner or later with the final part that focuses on Fast Attack and Heavy Support. I also realised that I forgot to add Honor Guard in my HQ section so that is also coming up!


- Simson

sunnuntai 12. tammikuuta 2014

The old enemy (BA vs. CSM, 1600p)

The title says it all. This Saturday we played another game (go check out the previous one!) between me and Roba. Here are the lists:
Chaos Space Marines

HQ
Abaddon
Sorcerer (lvl 3)
- Force Sword


Elites
Khorne Berzerkers (10)
- Rhino
Helbrute
- MM/PF
Helbrute
- TL-Lascannon, PF


Troops
Chaos Marines (9)
- Bolters/CCW's, Mark of Khorne
- Rhino
Cultists (17)

Fast Attack
Chaos Bikers (3)
- Mark of Khorne
- Champion has meltagun
Heldrake

Heavy Support
Forgefiend

Blood Angels

HQ
Reclusiarch

Elites
Sanguinary Priests (2)
- On Bike, Power Axe
- With Jump Pack
Furioso Dreadnought
- Frag Cannon, Heavy Flamer, Drop Pod
Terminator Squad (6)
- Assault Cannon, two Chainfists

Troops
Death Company (6)
- Bolters, Thunder Hammer
- Land Raider Redeemer
Assault Squad (10)
- Flamers, Power Axe

Fast Attack
Baal Predator
- TL-Assault Cannon, Heavy Bolters
Attack Bikes (2)
- Multi-meltas


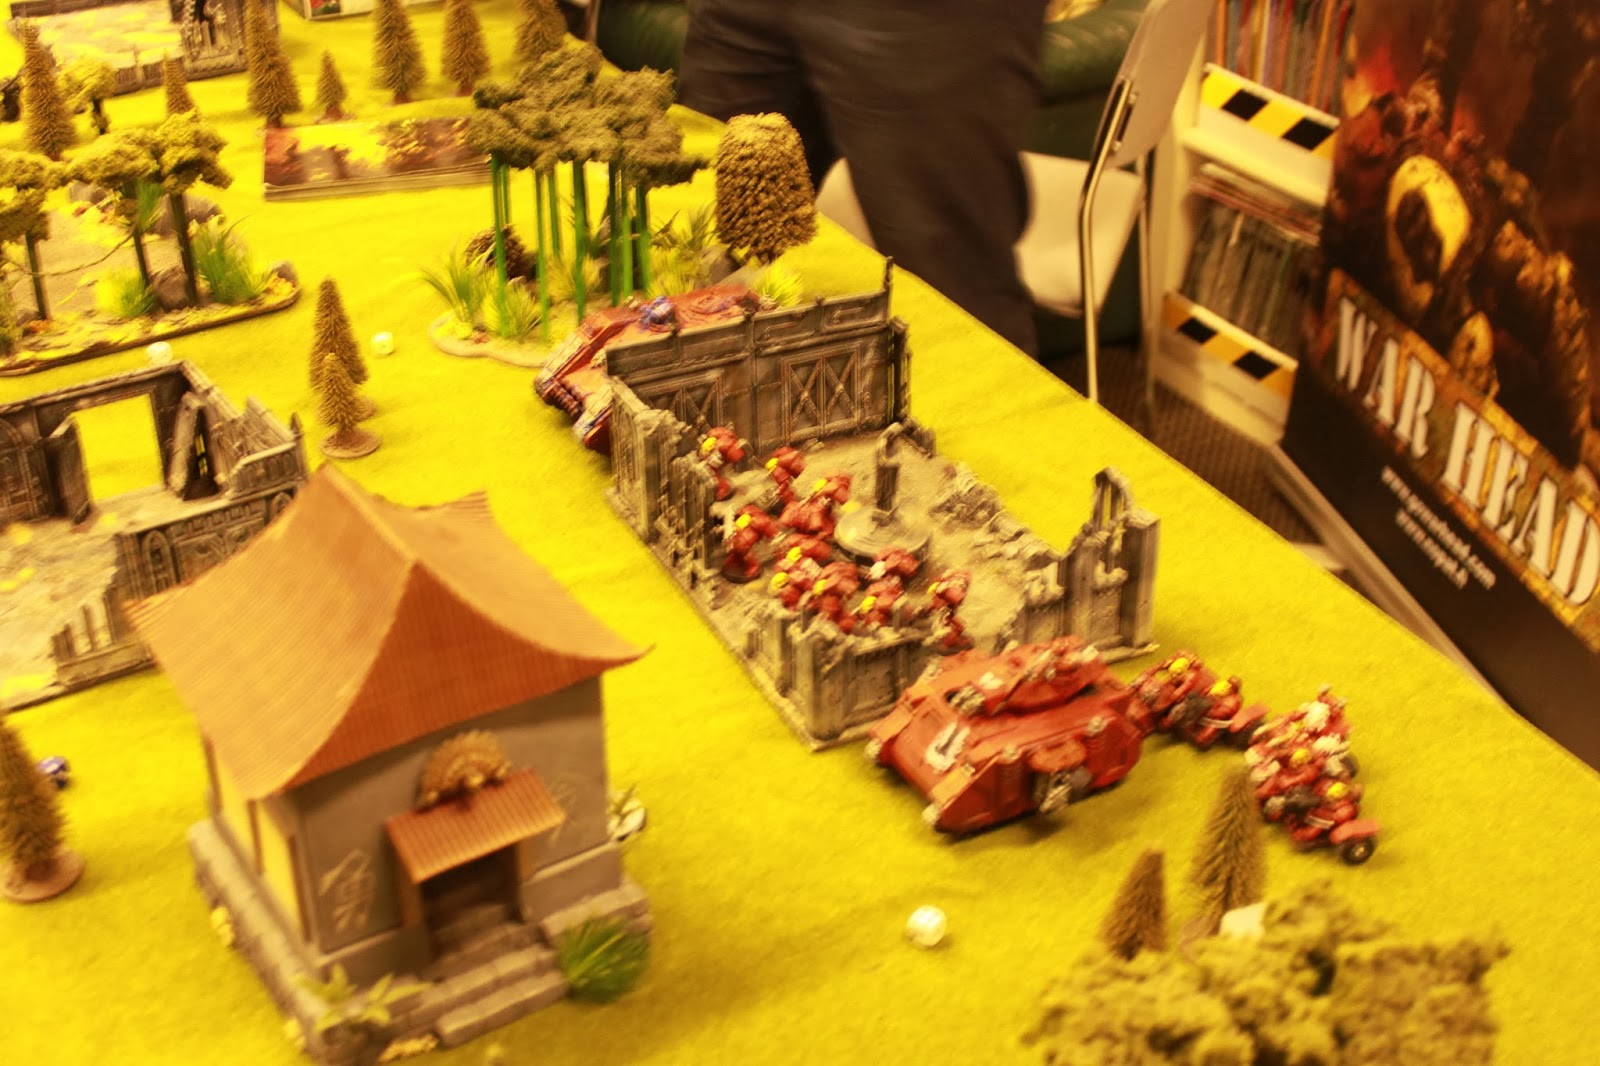
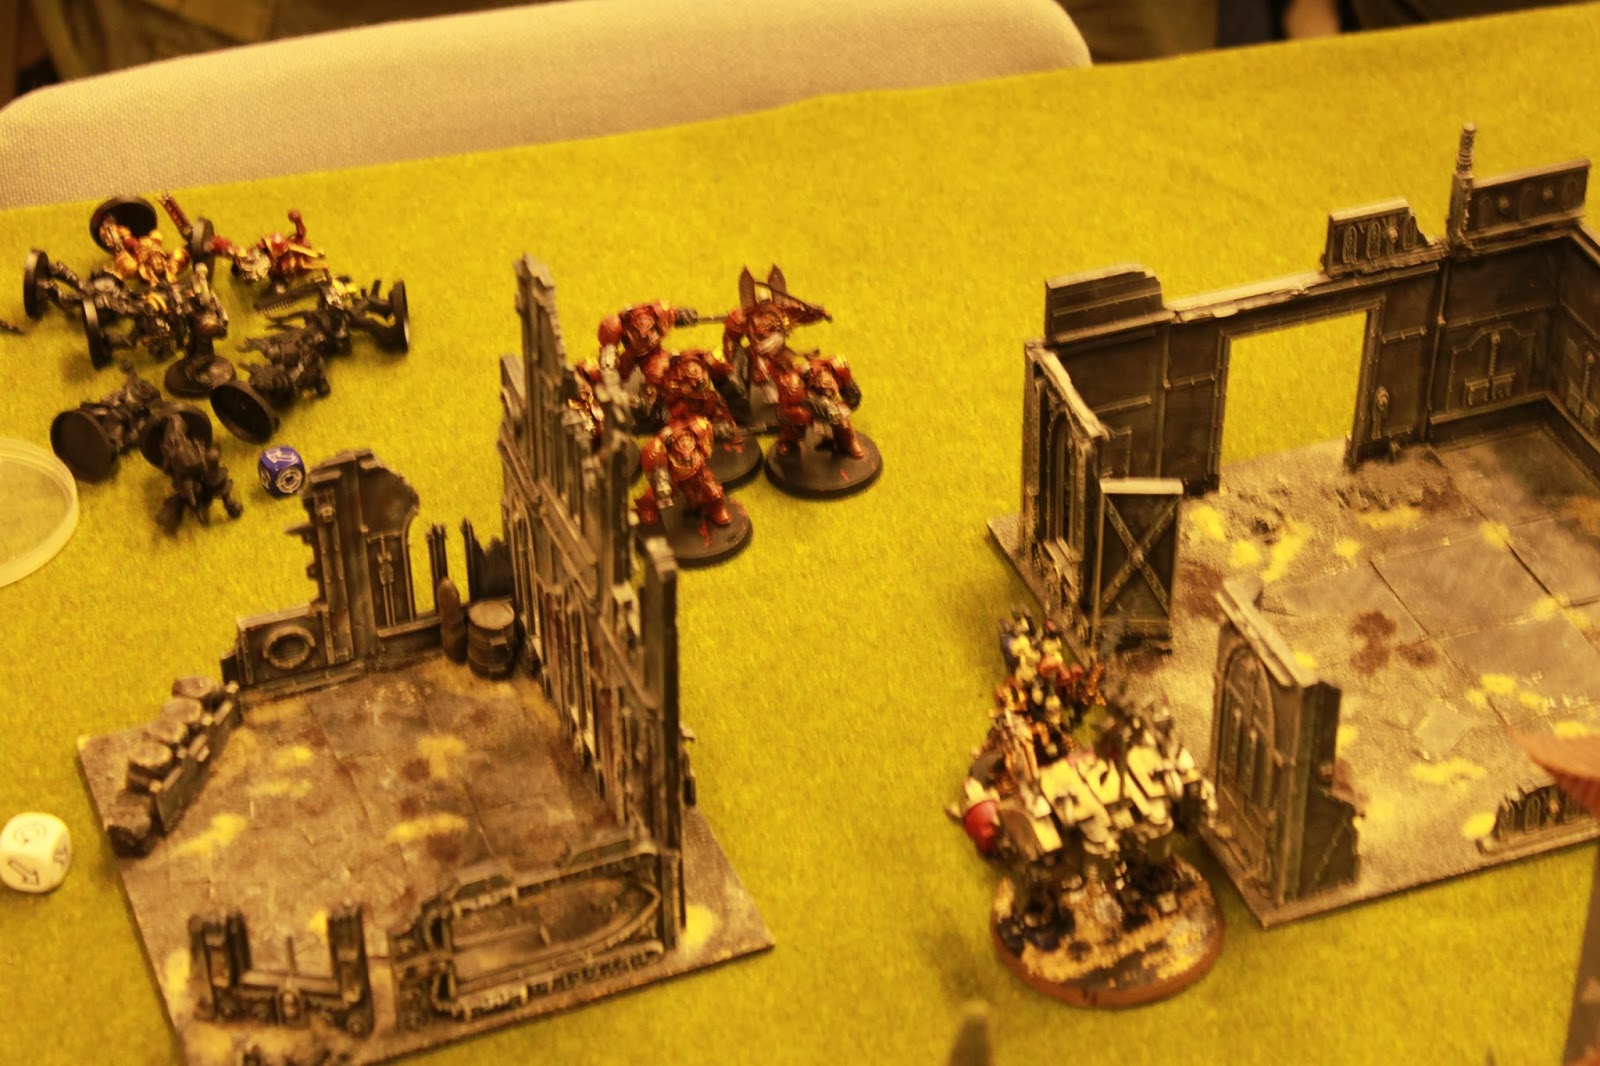
Blood Angel deployment. Objective partly hidden behind the building

Pre-game

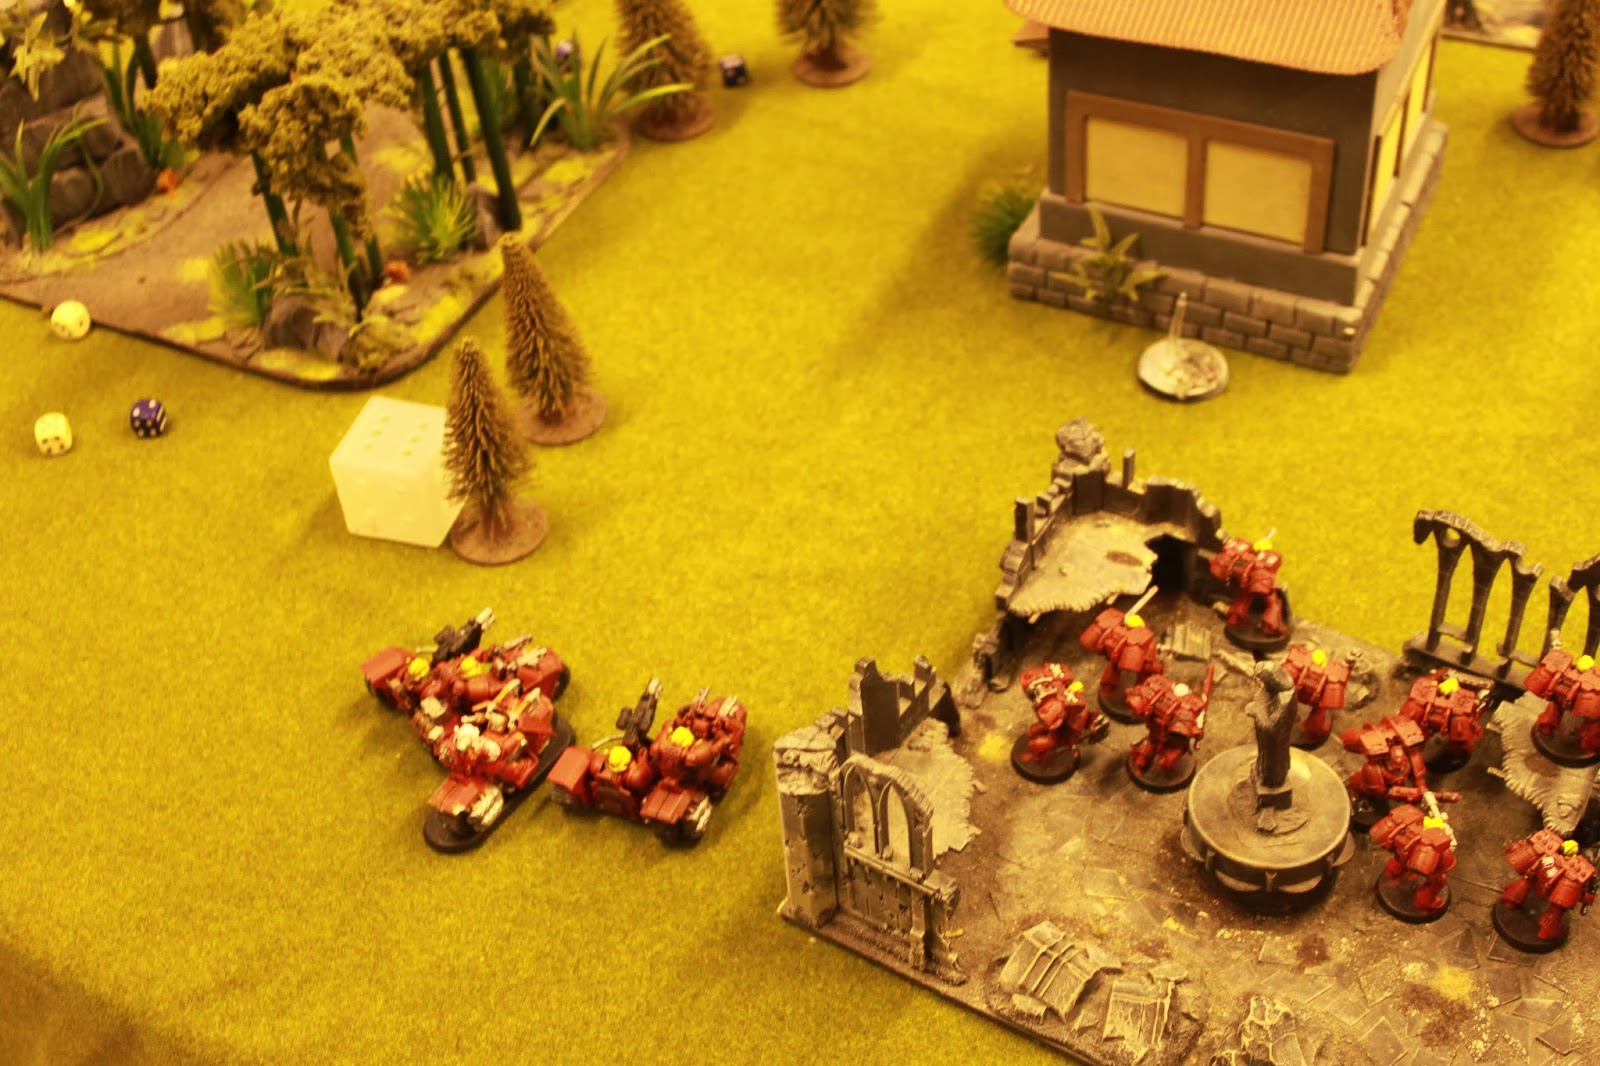
The game mode was crusade and we ended up with four objectives. I got to deploy first and placed my Assault squad in the ruins and my tanks on my flanks. Land Raider on the right and Baal Predator on the left with Bikes behind it. Furioso and the Terminators stayed in reserves.

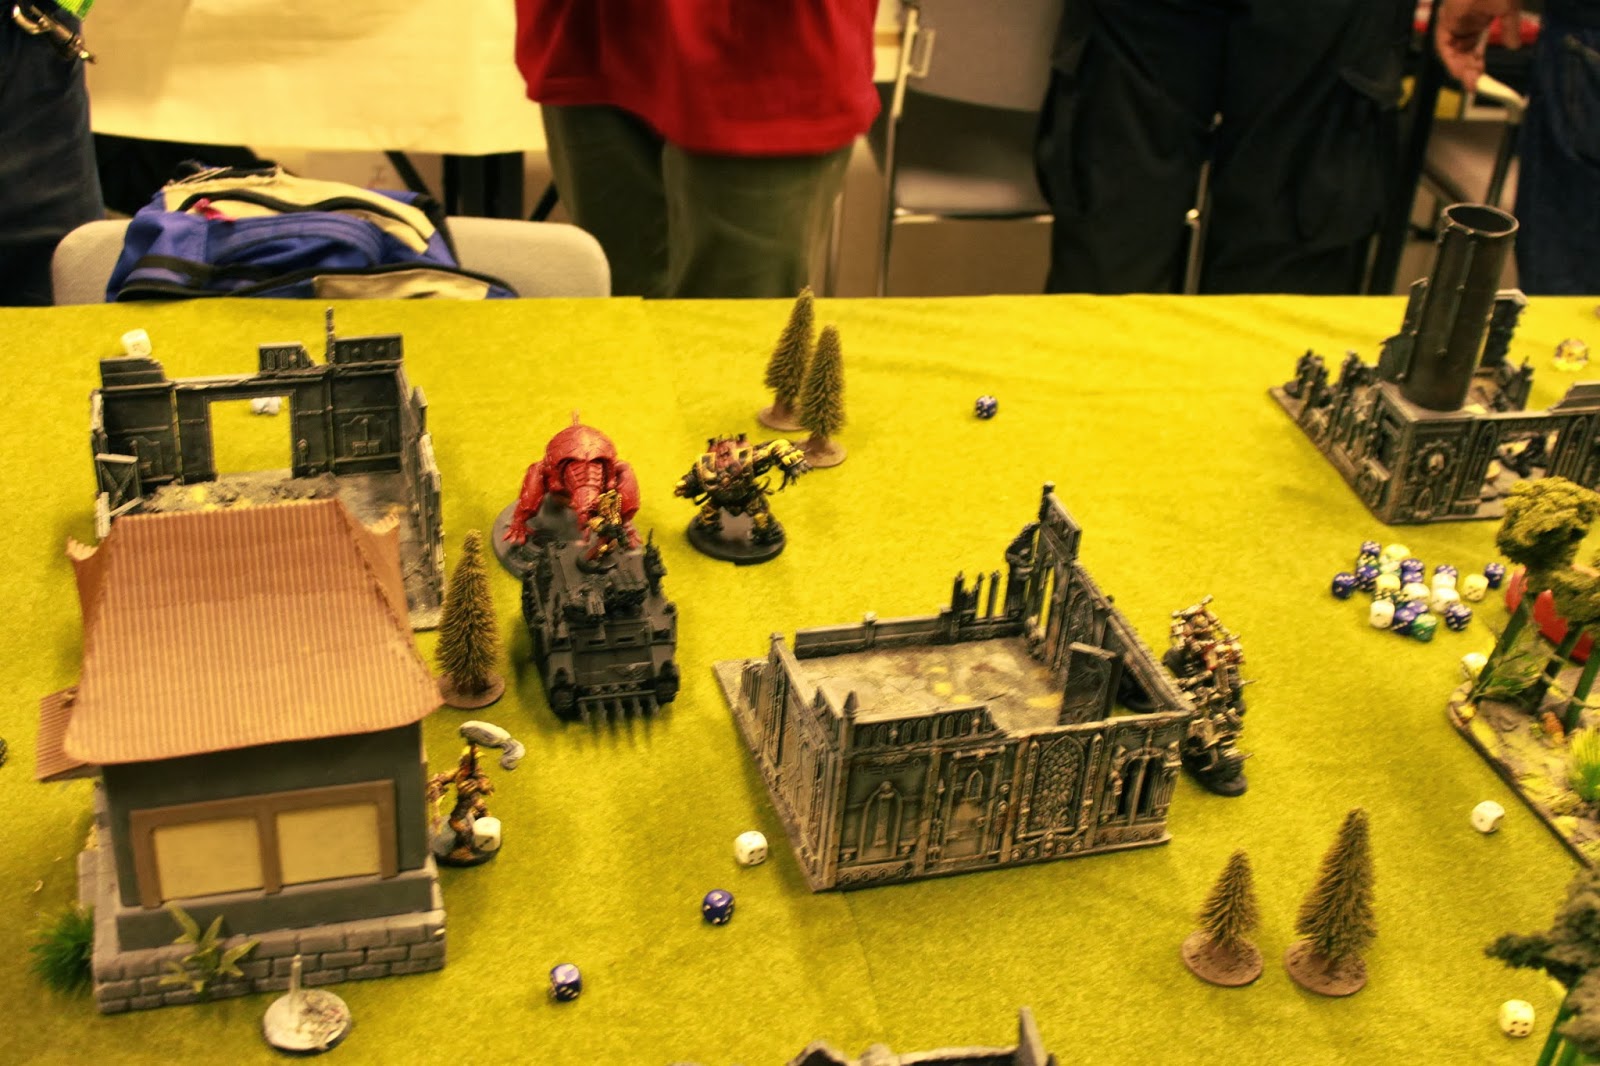
Then Chaos deployed it's Rhino on the right side with Sorcerer (who btw had all three powers from Tcheentch table, but the primaris) and nine marines. The other Rhino with Berzerkers went in the middle and both Helbrute and Forgefiend were strictly behind it. The Cultists hid in the ruins with the objective. His other Dreadnought was on the right side and Abaddon went in the reserves. He managed to steal the initiative and begun the game.

Turn 1

Chaos after Turn 1 movement
Chaos Bikes moved up and Turbo-boosted them behind the forest. His Rhinos moved up 12" each and the walkers followed. A lot of shooting with his Rhinos, but since they had to snap-shot, nothing happened. He tried to kill my Predator with Lascannon on the Dread, but only glanced it. His Sorcerer fired his doombolt at it and it exploded, giving away First Blood.

I simply love this guy
My Drop Pod arrived and I took a risk by positioning it's rear armor towards the Helbrute and it's MM, but I knew there was no winning if I didn't get the Cultists out of that objective. I scattered a bit, but after my disembark move I was in great position. My Attack Bikes moved forward as the Assault Marines moved (didn't use Jump Packs) and ran towards the objective at my side. Meanwhile the Land Raider tought that those Bikers were annoying and flamed two of them. The Champion survived. Attack Bikes blew up the Rhino with their MM's, killing one marine in the explosion. My Fragioso then fired, killing 10 out of 17 Cultists with Frag Cannon, and four more with Heavy Flamer. They failed their Ld check and ran at the edge of the table.

Turn 2

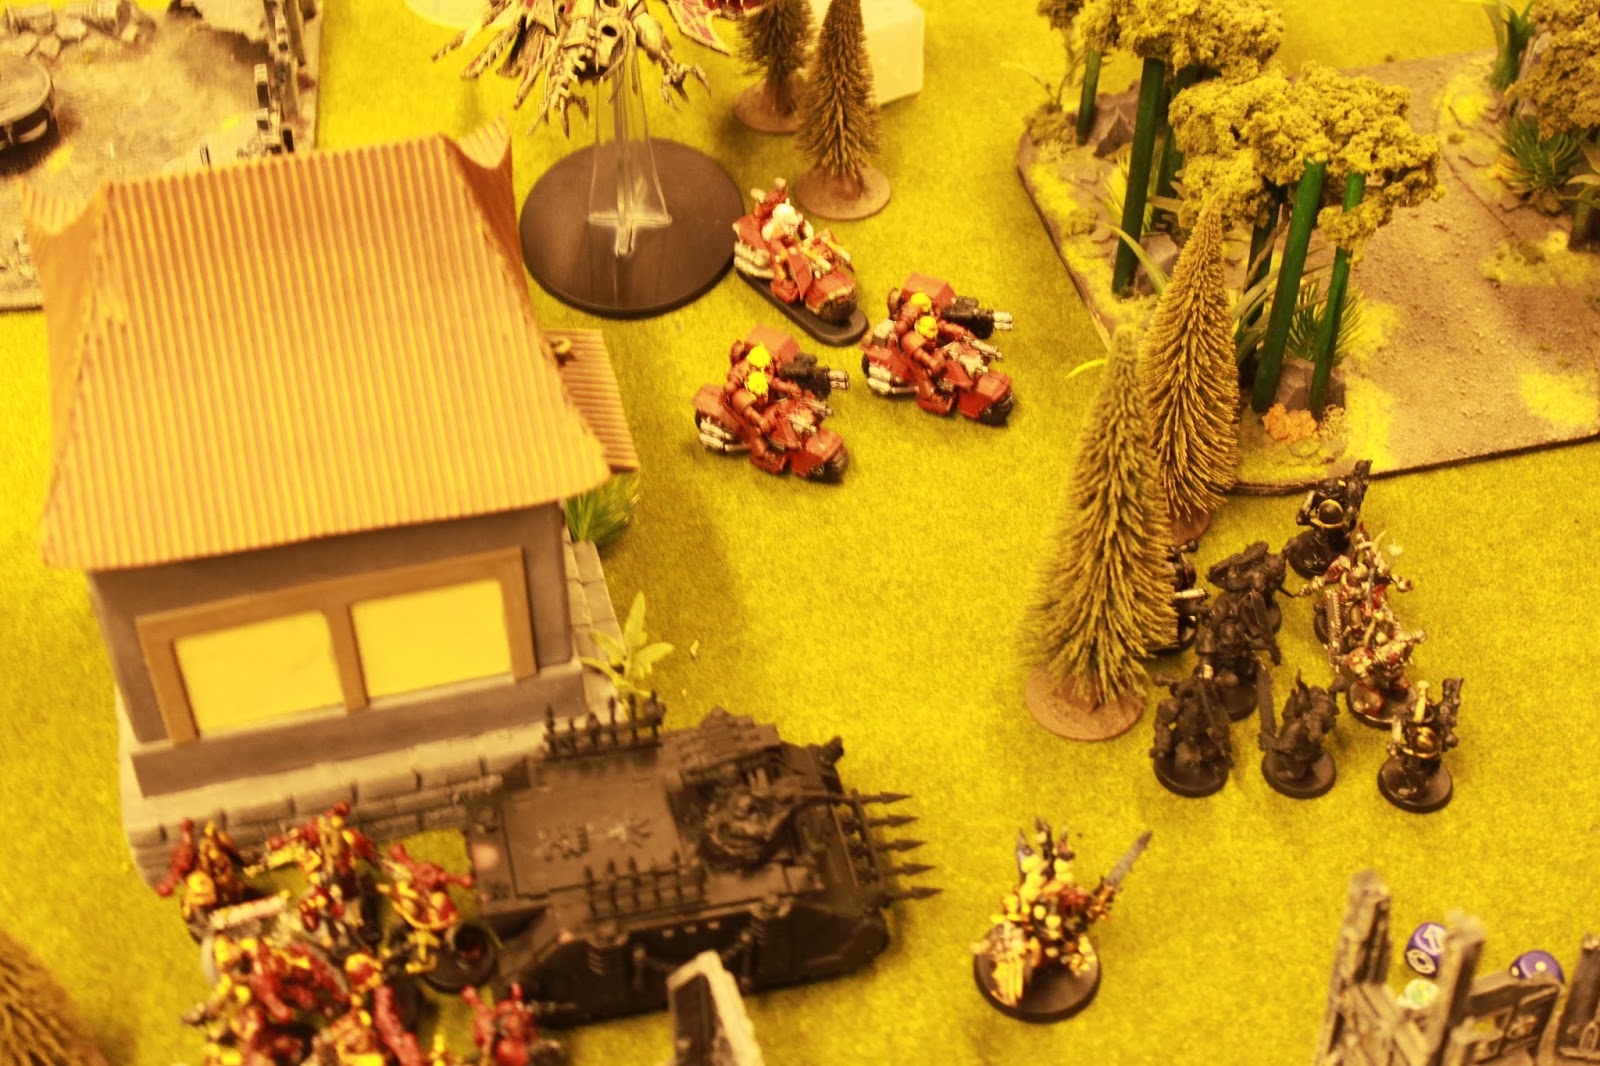
His Cultists weren't able to regroup and left the table, but in exchange they got Heldrake and Abaddon from the reserves, which is a pretty good deal if you ask me. Heldrake flew across the board and stopped between my Bikes and Marines. Abaddon didn't scatter and landed near the ruins and the impassable building. The nearby Rhino moved 6" towards him and Berzerkers disembarked. The CSM squad with Sorcerer moved at my Bikes. Meanwhile his lone bike took positions in front of my Raider. Chaos Forgefiend moved at my Marines. The Helbrute decided that my Furioso was a sitting duck with it's rear armor showing and moved towards it. In shooting phase he then fired his Multi-melta at Furioso. He did hit and rolled 2d6 on armour penetration. He managed to roll double-ones, getting only a glance. Well that's rather unlucky. Both Abaddon and Chaos Marines fired at my Bikers, doing a single wound. Heldrake didn't harm my Marines with his Vector Strike, but Baleflamer killed about half of them, including Sergeant. The lonely Chaos Biker shot meltagun at my LR. It managed to cause a Crew Stunned result so my Raider just hanged in there. In assault phase pretty much my every unit got charged. Forgefiend killed two Marines with zero challenge, but they stood their ground (guite foolishly). I couldn't choose to withdraw as I had a theoretical chance of killing it with my Kraks. Bikes got charged by Chaos Marines and his Sorcerer declared a challenge which I accepted with my Priest. Power Axe did little good since he managed to hit with all four attacks and wounded with three of those, and my FnP just couldn't do the same kind of miracle. The Chaos Marines didn't lose a single guy, but made two wounds so I lost a bike. The last Bike ran but stayed on board with one wound. He consoliated towards the objective. Then it was my turn to be lucky. Once again it happened with my Furioso who got three hits with Overwatch, got two penetrating hits due to Rending, and blew up the Helbrute before it even got close.

First Blood and the Baal Predator
was no more
The Terminators arrived from reserves and I placed them behind the enemy Dreadnought to shoot my Assault Cannon at it's rear armor. However, they scattered partly off the board and I got delayed result from my mishap roll. After my lonely Bike regrouped and moved at Chaos Sorcerer. Then my Furioso moved towards the actual battle. That was all my moving. Drop Pod tried to shoot Berzerkers, but they lived. With Power of the Machine Spirit I shot my Assault Cannon on Land Raider and killed the lonely Biker. Then my Attack bike shot the enemy. Missed with the Multi-melta and killed a single marine with bolter (Sorcerer was closest but he made his Look out Sir! roll). After that my Bike tried to assault them, but died on Overwatch... Forgefiend kicked Marine ass and killed them all (well, all but one who ran from the board). He then consoliated towards my Furioso.

Turn 3

Not looking too good for the sons of Sanguinius
The chaos Dreadnought moved to the ruins and Abaddon just moved near it with nothing to do. Forgefiend galloped at my Furioso and Berzerkers moved towards my table edge. The Heldrake then turned and flew a bit to the left. His Lascannon fired at my Raider but did nothing. That might have been the only thing to happen at his shooting phase. Forgefiend then charged at my Furioso and it blew up.

My Terminators finally arrived and tried the same thing as last turn. This time they didn't scatter. My LR moved at Berzerkers. The Death Company came out (finally) and after a bunch of shooting from their bolters and the Land Raider two or three Berzerkers went down. With Power of the Machine Spirit I flamed two Marines in the left. The Terminators tried to shoot at Dreadnought, doing a pen from Assault cannon but he made his cover save. Then I charged with Death Company, wiping Berzerkers out and lost two guys. I consoliated behind LR.

Turn 4

We can handle this...
The Heldrake flew off the table. Meanwhile Abaddon and Dreadnought decided that my Terminators should die and moved there. Forgefiend moved across the table (again) and the last Rhino moved 12" at Chaos Marines. His Srocerer used the template spell and killed three of my DC. Forgefiend charge the Raider and got it Immobilised, Abaddon and Dreadnougth charged at Termies and Abaddon killed my Sgt. in challenge while the Dreadnought killed two Termies. The remaining two then took a hull point off of it. And the last Chaos Marine and the Sorcerer charged at my Reclusiarch/DC. In challenge I did a wound and he did nothing, and my Death Company killed the last scoring model in the game.
Nope, we can't

In my turn I had little to do. I shot at Forgefiend with Raider but did nothing, the Pod fired at it's ass and didn't even hit. Then we continued the close combats. Abaddon made short work of my Termies and moved away with Dreadnought following. Then my Reclusiarch killed his Sorcerer and they moved to the ruins.

Turn 5

Abaddon moved and ran towards my last survivors, the Rhino tried to shoot at them and Forgefiend destroyed my Raider. The Heldrake arrived from Reserves but didn't do anything.

I decided as my last desperate assault to destroy the Rhino. That I did and the Rhino exploded. After it I moved at the objective, the Reclusiarch left the last DC then. That was pretty much it. So we rolled and the game continued.

Turn 6

Heldrake turned to the right and flew to the forests. Then Abaddon moved and charged my Reclusiarch and Forgefiend charged the last DC.
Both won the battle with zero problem and the game ended.

Post-game

So in the end there was four objectives, and not a single scoring unit left. The Chaos had Abaddon, Heldrake, Dreadnought and Forgefiend left with no infantry and the only BA model on the field was Drop Pod (so technically, I wasn't tabled, ahHA!!).
Chaos was couple of inches away from the Linebreaker and the ending score was simple:

Chaos Space Marines: 2
(First Blood; Slay the Warlord)

Blood Angels: 0

A fun game with lots of unlucky rolls and random successes. For me this was a day of random overwatch (the dual sixes on two meltaguns in the previous game and the Furioso) andlate reserves.
Thank you for reading, be sure to comment if/when we failed at some rules!

- Simson


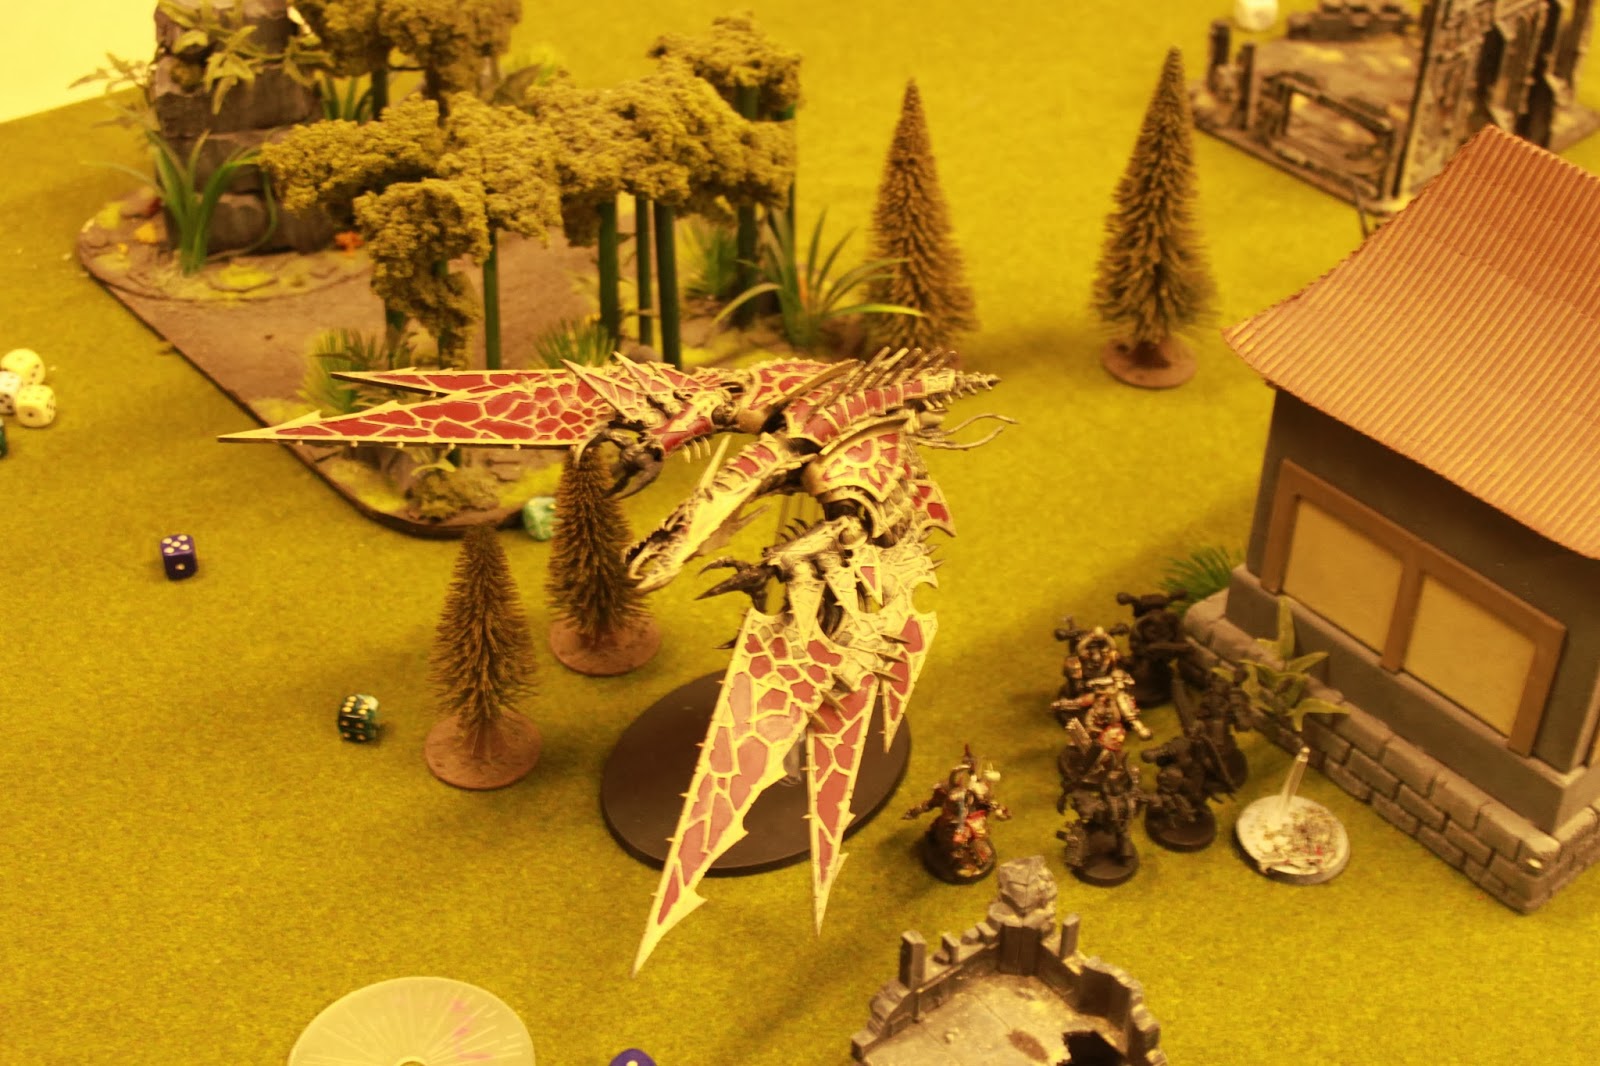
The all-mighty Heldrake!


Retirement.


lauantai 11. tammikuuta 2014

7500 points of a well spent Saturday

Hope I don't get sued for this...
So this Saturday I paid a visit to my local game store, Poromagia. We played a game of 3750 points between four players. The game was Purge the Alien. With no furhter delay, here are the players, teams and lists.

Team 1

2000 points of Eldar.
Player: Samuli
The deployment. The table behind treeline isn't part of the battlefield

HQ
Avatar of Khaine (Warlord)
- Crushing Blow, Fast Shot, Monster Hunter

Elites
Striking Scorpions (10)
Wraithguard (5)
Fire Dragons (5)
- Wave Serpent (TL- Starcannon, Holofields)

Troops
Guardian Jetbikes (6)
Dire Avengers (5)
Dire Avengers (10)
- Exarch, Diresword, Disarming Strike
- Wave Serpent (TL-Bright Lance)

Fast Attack
Crimson Hunter
- Exarch

Heavy Support
Wraithknight
- Suncannon/Scattershield
Vaul's Wrath Support Weapon (2)
- Shadow Weavers


1750 points of Blood Angels
Player: Simson

HQ
Reclusiarch
Eldar/Blood Angels reserves/guys in transports

Elites
Terminator Squad (6)
- Assault Cannon, two Chainfists
Furioso Dreadnought
- Frag Cannon, Heavy Flamer and Drop Pod
Sanguinary Priests (3)
- Brother Corbulo
- Priest on Bike
- Priest with Jump Pack

Troops
Assault Squad (10)
- Flamers, Power Axe
Assault Squad (10)
- Meltaguns, Power Fist
- Land Raider Redeemer

Fast Attack
Attack Bikes (2)
- Multi-meltas

Baal Predator
- TL-Assault Cannon and Heavy Bolters


Team 2


Team two: Janne/Yanne (left) and Tomi/Roba
2000 points of Grey Knights
Player: Yanne

HQ
Inquisitor Coteaz
Librarian (lvl 3)
- Terminator Armor

Troops
Terminators (5)
- Daemon Hammer and Banner
Terminators (5)
- Psycannon
Purifier Squad (10)
- in Stormraven
Deployment pt1

Fast Attack
Stormraven Gunship
- TL-Lascannon, Hurricane Bolters
Interceptor Squad (5)
- Halberd
- Razorback, TL-Assault Cannon

Heavy Support
Nemesis Dreadknight (psyker lvl 1)
- Psycannon and Greatsword
Dreadnought
- TL-Lascannon


Deployment pt2
Deployment pt3. A Hammerhead is partly seen and Sky Ray
is in the left of it, outside the picture
1750 points of Tau
Player: Roba

HQ
Battlesuit Commander (Warlord)
- Iridium Suit, Command & Control node, Multi-spectrum sensor suite
Cadre Fireblade

Elites
XV104 Riptide
- Ion accelerator, SMS, Stimulant Injector, Early warning overdrive
XV8 Battlesuit Team (3)
- 4x Plasma Rifles, Fusion Blaster, Stimulant Injector
XV25 Stealth Team (3)
- Fusion Blaster

Troops
Kroot Squad (15)
- Snipers
Firewarriors (12)
Firewarriors (6)
Tau/GK reserves (Raven not seen in the picture)

Fast Attack
Pathfinders (10)
- Shas'ui

Heavy Support
Hammerhead Gunship
- Disruption pods, Targeting relay, SMS
Sky Ray Gunship
- Disruption pods, Targeting relay, SMS


Pre-game

So Team 1 started the deployment. We played for killpoints and I think the Deployment was called Vanguard Strike? You know, the corners. So we deployed. The Jetbikes took the center of our deployment zone with the Serpents and the Wraithknight. Dire Avengers hanged in the forest. Reclusiarch and Corbulo went in the Land Raider that was placed in the right side, while the other Assault Squad and my Bikes went in the left corner. Scorpions Inflintrated in the ruins in front of my marines. The rest stayed in reserves. Avatar got the Split fire as Warlord trait, but that was less than useless so we ignored it. Oh, and the one time I remembered to roll Red Thirst it didn't work on anyone.

Suddenly, a wild Coteaz arrives.
Too proud to look at the camera.
The Tau deployed in the corner, with tanks behind and Riptide and Commander in the left side with Battlesuits in the middle. The Kroot went in the forest on the right and Pathfinders up in the trees, which we agreed not to be impassable. Both the Dreadknight and the 'Nought went in the right side of deployment zone, partly behind the line of sight-blocking building. Besides them were the Stealth team. The Terminators went behind the trees and Kroot in the right and the Interceptor squad hid in the ruins, with other Termie squad in front of them (with Coteaz). Their Razorback left them and went near the right side of the Dreadknight. Cadre went in the reserves with the Firewarriors. Their WL-trait was -1 modifier to our reserve rolls. Pretty good since we had a lot in there.

The Psychic powers were rolled, they didn't try to steal the initiative and we started the game.


Turn 1

Say hello to my little friend!
So the single Drop Pod came in and my Fragioso with it. It landed near the Kroot and didn't scatter. My whole army just moved forward as the Bikes took better positions and Assault squad moved and ran behind the nearest wall. The Raider moved 18" forward. We decided not to move the Jetbikes and Wave Serpents just adjusted their positions, while the Knight moved forward. Then started the shooting phase, where my Furioso managed to kill a total of eleven Kroot with his Frag Cannon and another two with Heavy Flamer. The Drop Pod's Storm Bolter tried to finish off the two remaining Kroot but only did a single wound and the last one lived, even tough I (foolishly) tried to shoot him with the only Bike in range. Then the Shadow Weavers tried as well but Kroot went down and passed all of his coversaves. One Serpent fired its Serpent Shield towards the Pathfinders, and killed one of them, after which they failed their Pinning test. We nearly missed the First Blood since the Kroot survived, but after that the Knight fired it's Suncannon at the Termies and Coteaz. Four wounds, no invunerable saves made, failed Look out Sir! and Coteaz being only T3 meant that three Termies died and Coteaz was insta-killed. A shame since this was the first time I saw him on tabletop and he died first, giving us First Blood. The lonely Kroot then ran out of board.

"Hello!"
The Tau wasn't too eager to advance so they just moved a little bit around, but the Librarian and his bodyguard Termies moved towards the Furioso and the other Terminators moved to the ruins. Both the Knight and the Nought moved a bit. Librarian gave misfortune to the Scorpions and Dreadknight shot at them with his large blast, killing five. The Terminators shot my Assault Marines with Psybolt Cannon, but with 3+ armor and Feel No Pain none died. Razorback shot at my Bikers, but didn't do a thing due to T5, jink and FnP. Both the Hammerhead and the Dreadnought tried to mess with Land Raider, but didn't harm it. The Riptide shot a lot against Wraithknight and with monsterhunter and some re-rolls made two wounds. Scorpions falied their Ld and ran from the board. Terminators then assaulted my Furioso, who got two rending wounds on overwatch and killed two Terminators. He then killed one more in close combat, and the Termies did nothing, since they only had a single weapon that could harm him.
Succesful reserve rolls. Something I rarely see in my games.

Turn 2

Land Raider survives a drop from 1000 feets but those trees
trees were too much for it.
Terminators arrived behind the Interceptor squad and didn't scatter. The Crimson Hunter also arrived and flew towards Riptide, while my Baal Predator stayed in reserves, mainly because of the Tau warlod trait. Both my bikes and Assault Marines moved against the Dreadknight. Six Jetbikes turbo-boosted behind them and the other half went to the center. The Dire Avengers just moved towards. My Land Raider crashed into two small trees and got Immobilised, so my plan didn't exactly work as my Assault Marines, Corbulo and HQ didn't get to CC and were left in the open. Avatar moved next to them. The Raider still shot the Assault Cannon at Riptide but didn't harm it. The Wave Serpents also moved around with nothing to do, making couple of shot but killing like three Pathfinders. Oh, and the Serpent also got Immobilised when trying to fly at the ruins. My Terminators fired at the GK squad, killing two guys. Vauls Wrath Big Guns shot at Stealth team behind the building. The first scattered on my bikers, but I made my Jink save and the next one scattered off, hitting only Knight who wasn't wounded. Then the Wraithknight shot his Suncannon at Tau Battlesuits. In the end, another GK marine died, one suit took a wound and the Razorback exploded somehow. Both my ASM and Bikers shot at Dreadknight, but did nothing. I then charged and did two wounds in total, but lost both Attack Bikes and two marines, who then ran. The lonely Priest on Bike stayed. The close combat continued and Terminators blew up my Dreadnought. They took a wound from explosion, and he decided to give it to his Librarian.
Farewell Fragioso!

The Firewarriors arrived from reserves and entered the field from their table-edge. The Librarian tried to Misfortune the Jetbikers, but got double sixes and died since he had only one wound left. The Interceptor squad used their Personal Teleporters to move with the Termies at the right side.Other Terminators moved trough ruins to charge at my Assault marines. The Stealth suits came to help and Battlesuits engaged the Terminators, while the Dreadnought moved towards the Jetbikes. He then tried to flame them with Heavy Flamer and shot his Lascannon, but they didn't do anything. Both the Terminators and Stealth suits fired at my Assault squad got 7 wounds on them. One marine died, but Corbulo was second closest and made all six 2+ Feel no Pains. Riptide tried to kill the Avatar and did manage get three wounds on him as Samuli failed all of his saves. Sky Ray marked the Crimson Hunter. Firewarriors fired at it, luckily getting two glances on it. The Hammerhead shot and blew up the Wave Serpent (with a help of Pathfinder markerlights) and the explosion killed three Fragons inside, and the rest ran, but stayed on board. Battlesuits tried to kill the BA Terminators, but after some unlucky rolls, didn't do anything. Jet Pack moves: Stealth suits moved right, behind the building and both the Riptide and Battlesuits moved only three inches each. The 'Nought then charged and killed two Jetbikes, who were Fearless due to the Avatar hanging close. Terminators charged on both sides, killing the Drop Pod on the right and losing a guy on two succesful overwatch shots with meltagun. The last guy got in CC, but Reclusiarch killed him before he got to hit. Oh, right. And the Dreadknight killed my Priest with no problem (other than three out of four hits failed).

Turn 3

Guess who's back!
My Baal Predator got it's wheel broken and the Wraithguard went to fix it so they both stayed in reserves for one more turn. The running marines regrouped (but the Fragons didn't, and ran from the board) and flew towards the Stealth suits. Meanwhile the Crimson Hunter turned 90 degrees and barely moved. The other Assault Squad and Terminators moved at Riptide, surrounding it. The Jetbikes moved towards the GK Termies, while Avatar moved to help the other ones locked in combat. The Avengers and Wraithknight moved around pointlessly, leaving the dirty work to the worhtless marines (typical Eldar behaviour, pff). Well, the Knight did shoot at Firewarriors, killing most of them (four FW's and Cadre survived). My Assault Marines with the Priest flamed the Stealth suits. As the Jetbikes made Terminators weep. Well, would've made if there were any left. Then after big bunch of shooting from my ASM and Terminators, the Riptide lost a single wound (yes!!). The Avatar charged the Dreadnought and destroyed it, losing a wound. Meanwhile my army charged the Riptide. A big bunch of overwatching took it's time, but no-one died on it. His Rippie challenged and as I declined, he decided that my Reclusiarch didn't get to hit. The rest of my army struck, getting the re-rolls to hit from charging with Reclusiarch. It went down to two wounds, then he tried to kill my Termies and killed one of them, after a single succesful Invunerable save. Rest of the Terminators killed the Riptide with no problem. His commander ran and I caught him.

Their following turn was a short one as the Tau just fired everything they got, killing one Terminator and the GK's moved around and shot couple of Jetbikes down. The Battlesuits then did the last desperate charge at my Marines doing nothing and dying. We decided that the game was over, since there was like ten enemy models left, half of them Firewarriors. (Four FW's Cadre, the two tanks, two Grey Knights and Dreadknight left against half of the Eldars and somewhat 15 marines).

Post-game


Battlefield in the end.
The score was 7-7 before even counting the losses of Tau which included the Warlord kill. Besides that we had First Blood and Linebreaker, so we just decided not to count them and call it a day.

The Blood Angels - Eldar alliance was declared victorious and the players shook hands with each other.


P.S.
Since we had a lot of reserves, and the game was a short one here's a small memorial in
honor of the units that never saw the battlefield:
'Twas a good game! Janne and Samuli (left) making
the last hand shake.

Wraithguard
Baal Predator
Stormraven
Purifier squad inside the forementioned SR
Six Firewarriors

P.P.S.
After that we still had enough time for a single game of 1600 points played between my Blood Angels and Roba's Chaos. Coming soon!

Thank you for reading, Simson out!!


Blood Angels dead pile in the end.
Oh, and the tank that didn't show up. Damn Walder Frey.